Table of Contents
What is Magento?
No, not the metal-manipulating Super Villain from the X-Men comics. Magento is one of the most popular open-source eCommerce platforms for businesses on the internet. Built on the Zend Framework and written in PHP, Magento is the “world’s leading platform for open commerce innovation.” Magento Partners include a diverse portfolio of small, medium, and large businesses across the globe for B2B and B2C clients.
Magento accounts for approximately 0.8% of all websites built on the internet, making it the 9th most popular CMS in the world, and comprising more than 187,500 live websites. If you’re a small business or burgeoning eCommerce solution requiring scalable shopping cart software that supports multiple payment gateway options, Magento may be the platform for your needs. Let’s get started!
Preparing Your Server to Install Magento
First things first, you will need a hosting environment to install Magento in. You can choose a cPanel Hosting Partner for hosting or select a hyperscaler to build a virtual environment to host your Magento website. For the installation method, we’re discussing today, root access (which includes WHM) will be required.
You will need to make sure cPanel & WHM is installed on your server. Many hosts automatically set this up when you create your virtual server with them. If they don’t, you can read our step-by-step documentation for installing cPanel onto your server.
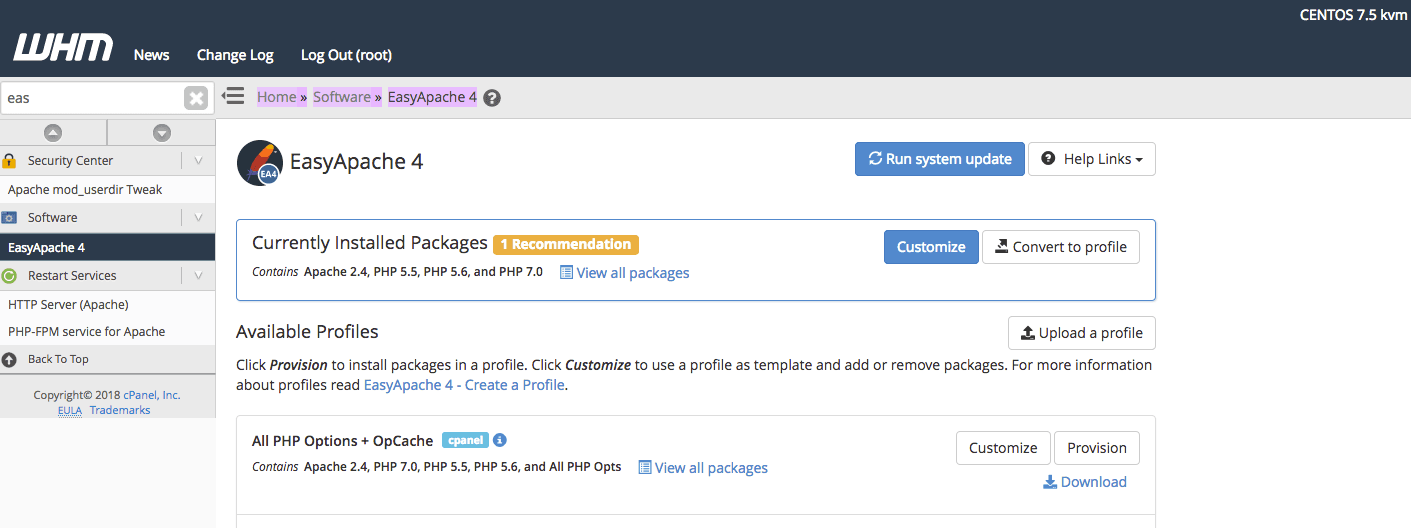
Configuring EasyApache 4 with Magento
Our next step will be to make sure EasyApache 4 is compatible with Magento in order to prepare your hosting environment properly. Follow these steps to ensure the process is successful.
- From WHM, choose the option, “EasyApache 4.” (Home » Software » EasyApache 4).
- Once there, click on “Customize” next to “Currently Installed Packages”.
- Next, click on “Apache Modules” and search mod_version and as well mod_env and enable these options, then click “Next”.
- The next section is titled “PHP Versions,” and no action is required here. Click “Next”.
- In “PHP Extensions,” we will need to enable a number of options. Using the search feature, please find and enable the following PHP Extensions (please note, you are only required to use the extensions for PHP 7.2):
- intl
- soap
- zip
- After you have enabled the extension for each of the above, click on “Next.”
- “Ruby via Passenger” is the next page, and no changes are required here so you can proceed ahead.
- Next, we will review the final changes before making the update.
- If everything seems correct, click on “Provision” at the bottom of the page. Please note: these changes are rather substantial, so be aware this will take a few minutes.
- Once this is done, click on “Done” at the bottom of the page.
Creating Your First cPanel Account in WHM
Now that EasyApache is appropriately configured, let’s create a cPanel account to set up a Magento installation.

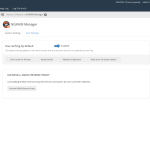
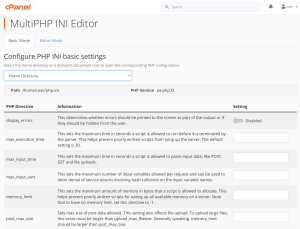
As we mentioned before, Magento requires PHP 7.2 or 7.3, and the PHP version must be set manually after the cPanel user is created if your server is running a version older than 7.2 or 7.3 (to see what version of PHP your server is running, you can run php -v from the command line on your server, or create a phpinfo page. To change a user’s PHP version, go to (WHM » Home » Software » MultiPHP Manager) and search for your user from the list of users and domains. After the cPanel user account is created, you can access the account by adding ‘/cpanel’ to the end of the domain (i.e., testingsite.com/cpanel).
Now, sign in to the account using the username and password credentials you just created. Then, click “MySQL® Database Wizard.” where we will create a MySQL database that Magento requires to work properly.
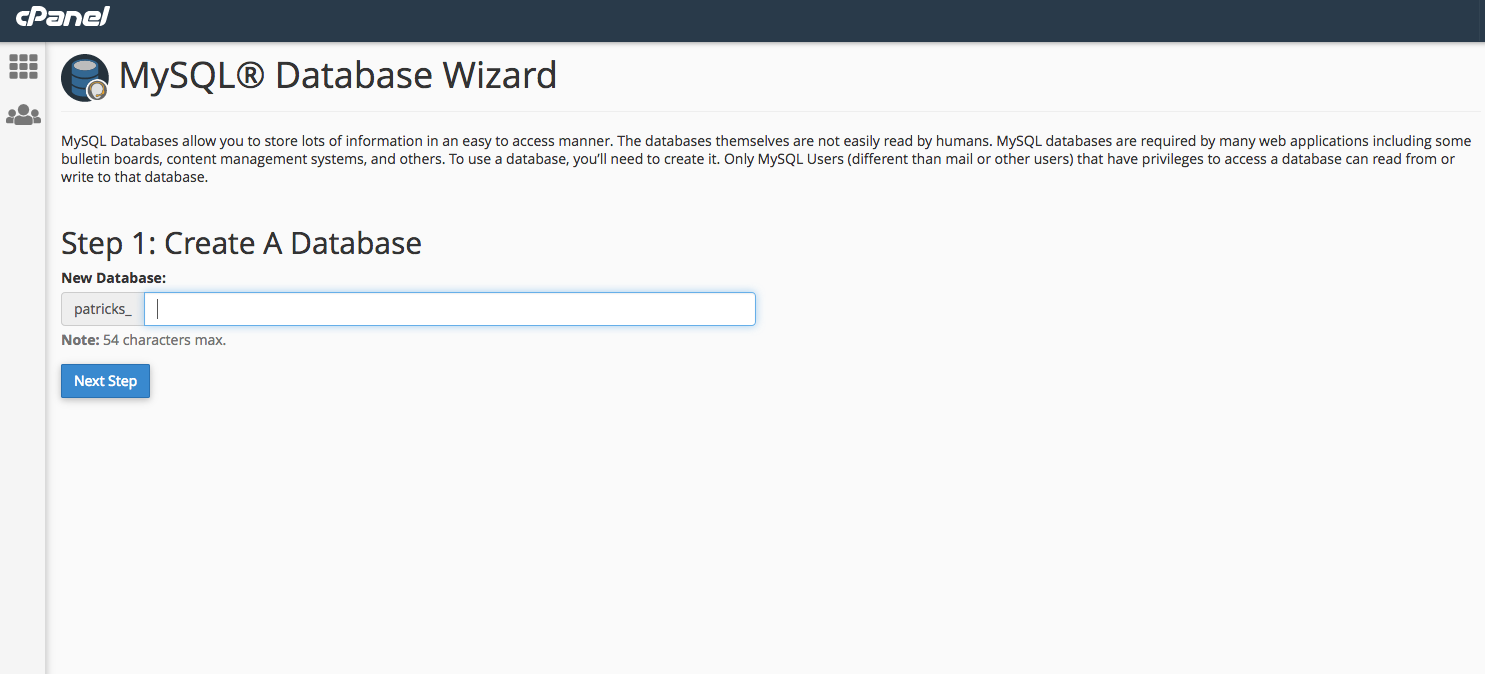
- Enter a name for your database. For this tutorial, we’ll use the database name “magento.” Make a note of the prefix (the name that appears to the left of where you enter your database name, typically this is the cPanel username)
- Next is to create the username (we’re using “magento” as the username)
- Provide a password for this user and save it in a secure location. You are required to enter this information for our Magento installation.
- Check the box to enable “ALL PRIVILEGES.”
- Click on next and finally return home.
Our next step is to download the Magento software. For the sake of this walkthrough, we are going to be using Magento version 2.3.4. You should be able to find this version on Magento’s download page. Please download the file in a standard zip format (the first option).
We need to transfer our Magento zip file to our server. We are going to do this using cPanel’s File Manager. Return to your cPanel account and go to the “File Manager.”
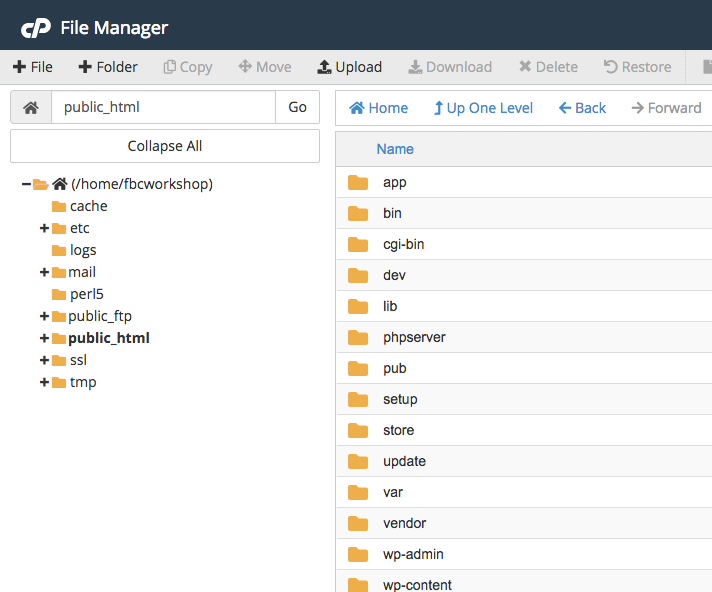
Once there, double click on “public_html” and then click on “Upload” from the top toolbar. Select the Magento 2.0 zip file you downloaded.
Please note that in this example, we are installing directly in public_html (primary domain). If you prefer to install this onto a subdomain, you can do this by adding the subdomain inside of your cPanel account and then uploading the Magento Zip file to that subdomain’s folder in your file manager.
Once the upload is complete, open your terminal. For this next section, you’re going to need to SSH as the root user to your server and operate as the cPanel user your Magento installation is located at:
bash-4.2$ ssh [email protected]
[email protected]'s password:

Last login: Tue Jan 28 09:44:53 2020 from *.*.*.*

root@testingmagento# su cptechs

[cptechs@testingmagento centos]$
Now, change to the directory that you have the Magento zip file. For example, as my Magento zip file is in my ‘public_html’ directory, I used the command:
cd /home/cptechs/public_html/
Run the command “ls” to confirm the Magento file is in this directory. For example:
[patrickstar@testing-magento public_html]$ ls
cgi-bin Magento-CE-2.3.4-2020-01-16-11-19-26.zip
Now, we are going to unzip the file. Enter the command ‘unzip,’ then enter ‘M’ and press the tab key. This should complete the line, and it should appear as below:
[patrickstar@testing-magento public_html]$ unzip Magento-CE-2.0.18-2018-02-23-02-07-53.zip
The file will unzip. When this finishes, please run these 3 commands in the order that I have presented for you:
find var generated vendor pub/static pub/media app/etc -type f -exec chmod u+w {} +
find var generated vendor pub/static pub/media app/etc -type d -exec chmod u+w {} +
chmod u+x bin/magento
Magento’s developers wrote this command, and it corrects the necessary permissions to use the files created. Lastly, we have one final terminal change to make. Please run the command ‘exit’ to return to the root user. For example:
[cptechs@testingmagento centos]$ exitexit[root@testing-magento ~]# |
Next, please run the command:
vi /opt/cpanel/ea-php72/root/etc/php.ini
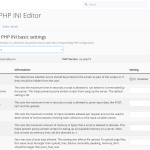
Now that you are using vi (a Linux text editor), type the following: /always_populate and press enter. You are taken to this line:

Under this line, we need to add a new rule. To do this, press ‘i’ on your keyboard to edit “INSERT” mode. Please add this line of text.
always_populate_raw_post_data = -1
The new configuration should look like this:

Now to exit ‘vi,’ please enter the following, hit the Esc, type :wq , and then press enter to exit the text editor, then check your website (If you used a different subdomain, you would go to yourwebsite.com/subdomain/setup)! We should now be greeted with the Magento Setup Wizard. Please proceed as necessary.
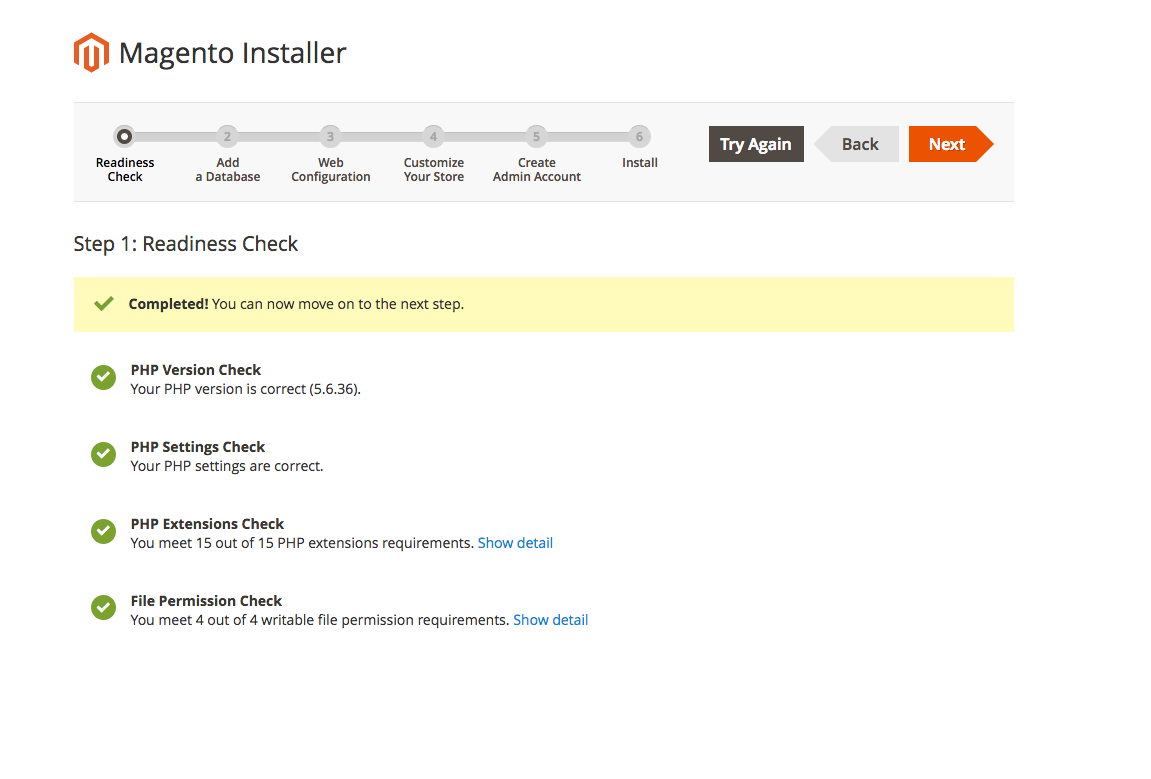
1.) Readiness Check – You should be greeted with all Greens!
2.) Enter your database details as you did inside of cPanel. (Please keep in mind, you must also enter the ‘prefix’ for your username. For example username_magento)
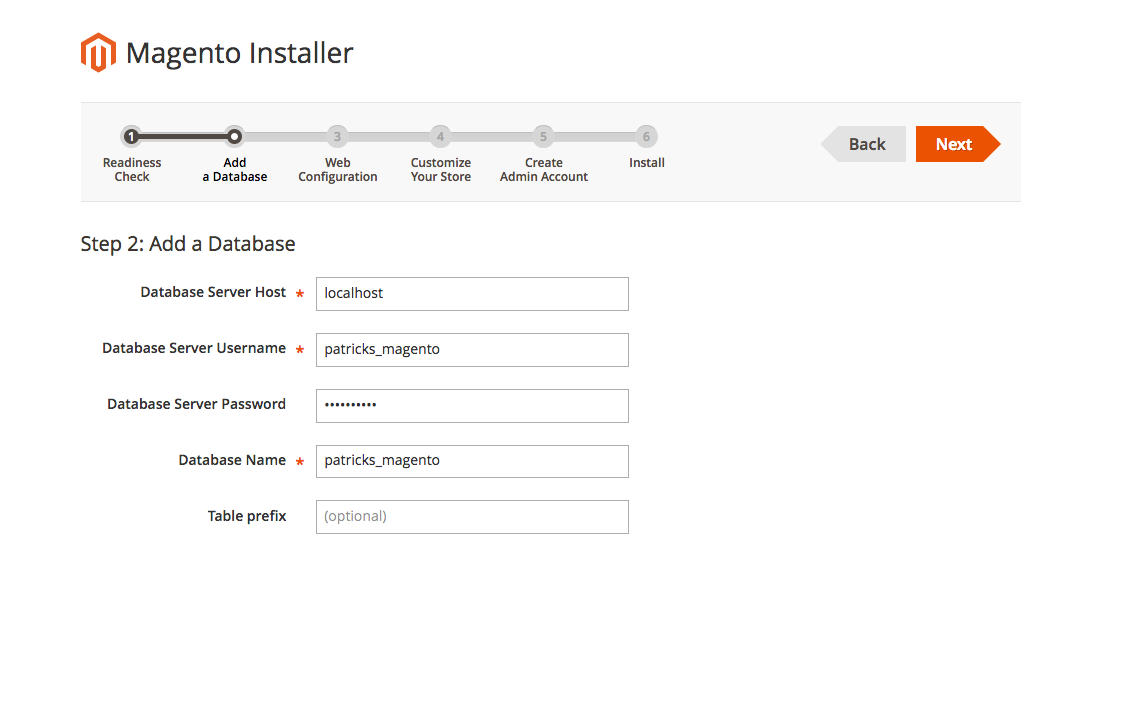
3.) You can leave this as default. (Make sure you copy and keep your Magento Admin Address for later use)
4.) Enter your store details, such as the time zone and currency used.
5.) Create your admin account for the Magento plugin. Make sure you keep these credentials in a safe and secure location and keep them handy.
6.) Install Now: Stand by and let the installer finish its course:
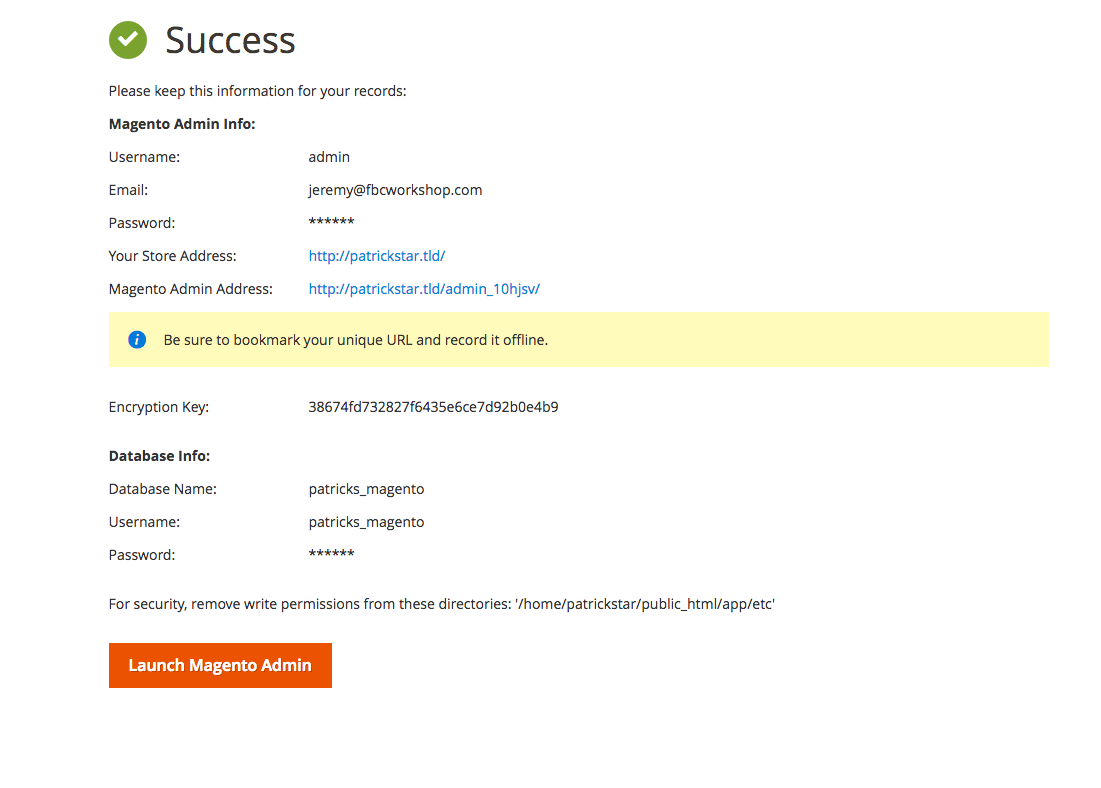
When finished, click on “Launch Magento Admin” to sign in to the Magento Admin User. Your website is ready for eCommerce!
Installing Magento onto a cPanel server can be a bit tedious, but very worth it for the eCommerce infrastructure that it provides. The next step on your journey is building out your brand new eCommerce site! The Magento Community has a wealth of resources for the new and expert user alike. If you would like to reference the Magento documentation, you may do so here.
What is Magento eCommerce Software
Magento is a highly flexible open-source e-commerce platform that offers online merchants a powerful system to manage their online sales with unprecedented control and flexibility. Its modular architecture and substantial scalability allow businesses of all sizes to create a customized shopping experience tailored to their needs. Magento comes in various editions, including Magento Open Source (previously known as Magento Community Edition) and Magento Commerce (previously Magento Enterprise Edition), catering to businesses from small startups to large enterprises.
Features and Benefits
1. Customizable Design: Magento’s highly customizable design options enable businesses to tailor the look, feel, and functionality of their online stores to match their brand identity and meet their business requirements.
2. Extensive Product Management: With Magento, merchants can manage their product catalog with ease, thanks to features like batch import and export, advanced pricing rules, and customizable product attributes.
3. Scalable Architecture: Magento is designed to be scalable, allowing businesses to grow their operations without switching platforms. It can support a wide range of products and customers, from small shops to vast catalogues with thousands of products.
4. Powerful SEO Features: Magento is SEO-friendly, offering features like SEO-optimized URLs, sitemaps, and meta-information for products and categories, which can help improve a store’s visibility in search engine results.
5. Comprehensive Marketing Tools: Magento provides extensive marketing tools, including promotions, coupons, email marketing integration, and more, enabling businesses to engage with customers and drive sales.
6. Multi-Store and Multi-Language Support: Magento supports the management of multiple stores from a single admin interface and offers multi-language capabilities, making it an excellent choice for businesses looking to expand globally.
7. Security: Magento takes security seriously, providing regular patches and updates to help protect online stores from potential threats. Magento Commerce, in particular, offers advanced security features and dedicated support.
8. Community Support: Magento’s extensive community of developers and partners ensures that users have access to a wide range of extensions and themes to extend the functionality of their stores, as well as support and expertise from the community.
Magento Open Source vs. Magento Commerce
Magento Open Source is the free version of Magento, designed for small to medium-sized businesses. It offers a comprehensive set of features that can be extended with free and paid extensions from the Magento Marketplace.
Magento Commerce, on the other hand, is a premium, subscription-based solution offering additional features and functionalities tailored for larger businesses and enterprises. These include advanced marketing tools, full-page caching, customer segmentation, and more, along with technical support from Magento.
Choosing Magento for Your E-commerce Business
Deciding whether Magento is the right platform for your e-commerce business involves considering several factors:
- Technical Resources: Magento is powerful but can be complex. You may need a developer or a team familiar with Magento for customizations, maintenance, and updates.
- Scalability Needs: If you anticipate significant growth or have a large product range, Magento’s scalability makes it an attractive option.
- Budget: Magento Open Source is free, but you’ll need to consider hosting, development, and maintenance costs. Magento Commerce, being a premium product, requires a more substantial budget for its advanced features and support.
Conclusion
Magento offers a robust platform for businesses looking to create a custom, scalable online store. Its extensive features and flexibility make it a popular choice among e-commerce businesses worldwide. However, the complexity and resource requirements of running a Magento store mean it’s essential to carefully consider whether it aligns with your business needs, technical capabilities, and budget.


